Manage Quarantine and Filter Rules in SpamTitan
This guide provides step-by-step instructions on how to manage quarantine and filter rules in SpamTitan. It explains how to access the quarantine tab, view and take action on messages, understand the difference between “release” and “allow” options, create or adjust filter rules, and configure settings. It also offers tips and recommendations to optimize your spam management. If you want to effectively manage your spam and quarantine settings in SpamTitan, this guide is a valuable resource.
- Navigate to https://spamtitan.cazarin.com/
- The system uses a single-sign-on option connected to the email server. This means you enter your email username and password to sign into the Spam Titan service.
Alert: If you forget your username or password, you may recover it from your assigned email server:
https://webmail.cazarin.com or https://webmail2.cazarin.comPlease note: Cazarin has two active email servers and each domain is assigned to only one server, please connect to the correct server. - If you enable Two Factor Authentication (2FA) you will be asked to enter a code always!
The Quarantine Tab
The Quarantine tab is usually the default tab after signing in.
- Click on any of the messages to display the header information or to view the message.
You may also then choose the action for the message.
You may also select messages using the checkboxes and then perform actions right from the list.
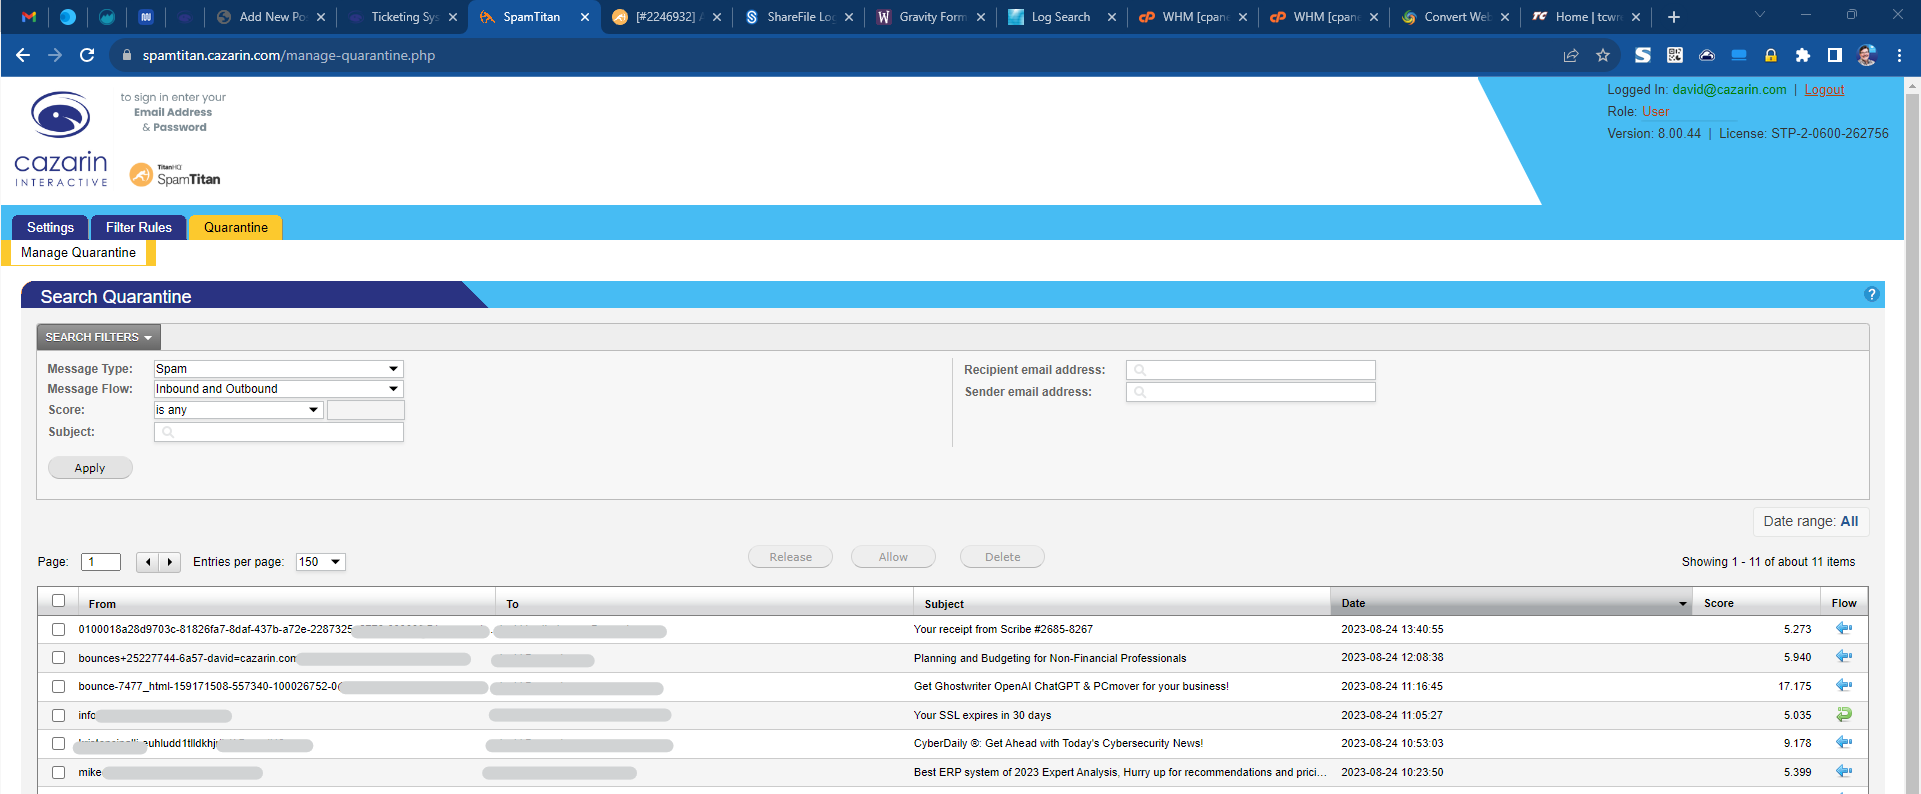
- Tip: There is a question mark (?) icon at the far right of the screen that you can use to get more information.
- A pop-up box will display the message details to you.
From here you may click “View Message”, “View Source”, or “Options” to change the view.
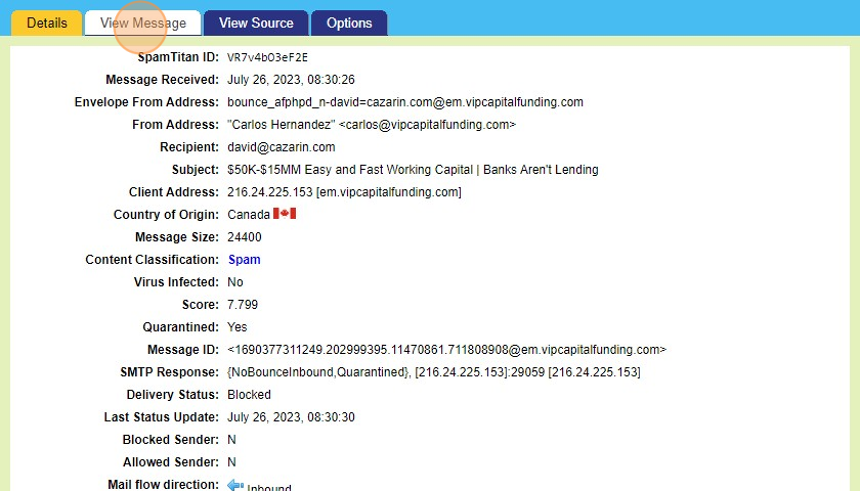
- The Options tab is where you can perform the actions on this specific message such as Release, Allow, or Delete.
 Tip! What is the difference between “Release” and “Allow”?
- Release send the specific message to your mailbox. No rules are created to allow future messages.
The recommended method is to use the Release option. - Allow sends the message to your mailbox and creates a rule for this sender to be allowed through automatically in the future.
When you use the Allow option the sender is put on a White List and all future messages whether spam or not will be released to you. Viruses are still blocked.
- Release send the specific message to your mailbox. No rules are created to allow future messages.
- You may create or adjust Filter Rules on this tab.
Note: These rules are specific to you and do not affect other users on your domain.Detailed help is again available with the ( ? ) icons at the far right.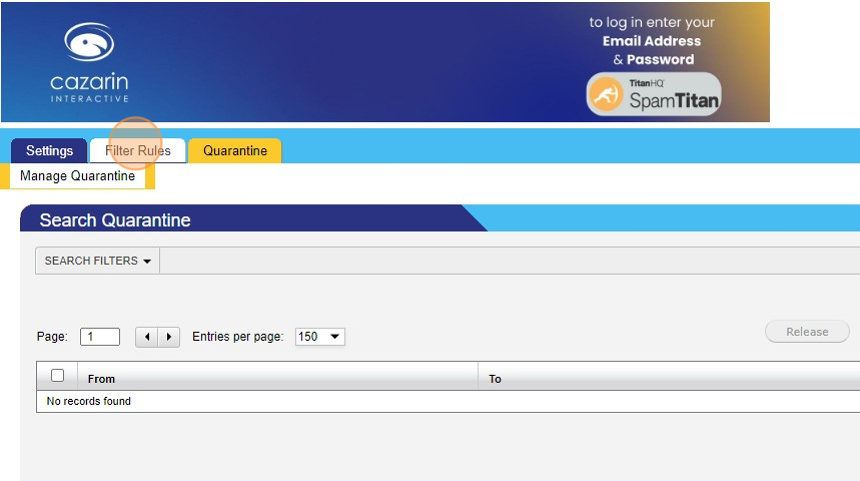
- The Settings tab has two sub-tabs:
- User Management : Where you can configure your Two-Factor Authenication (2FA).
Please note the password reset on this page is not supported for our installation.
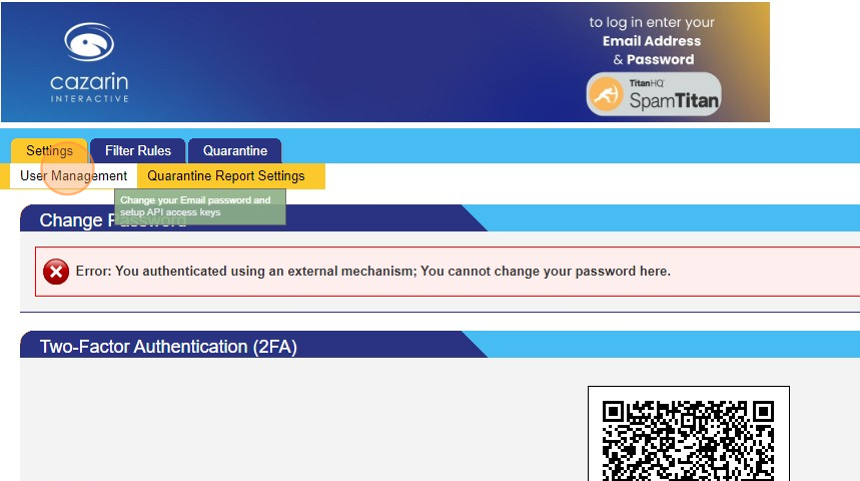
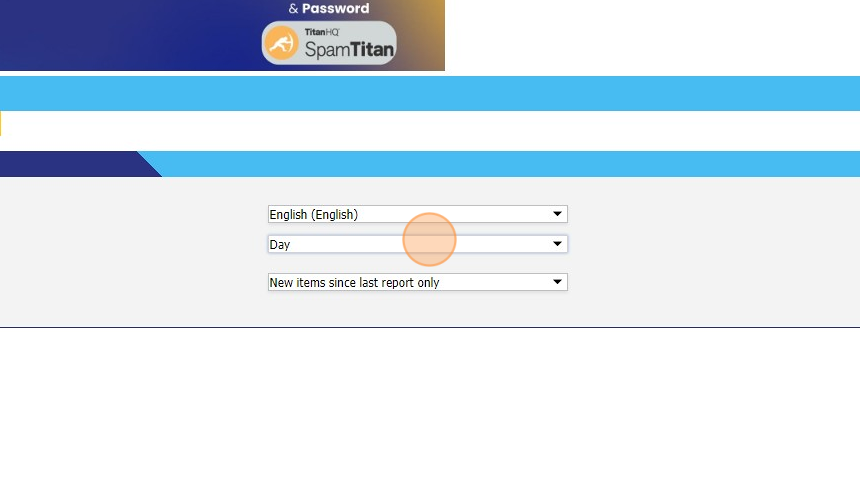
- Quarantine Report settings tab where you set the frequency, language (generally English), and what to include in the report.
Tip! Set the frequency to “Weekday” to skip the weekends.
The default settings are: “English”, “Weekday”, and “New items since last report only”
- Be sure to click on the Save button when you’re done making any changes.
- User Management : Where you can configure your Two-Factor Authenication (2FA).
Additional Support
If you need more help please contact Cazarin’s Support:
- Open a new ticket at https://www.cazarin.com/new-support-ticket
- Email support@cazarin.com
- Call Cazarin Support at 763-465-0004